Admin Panel
The Admin Panel only shows to users with an Admin status account. You can create your Admin account by using the Installer as mentioned in the Install Guide above.
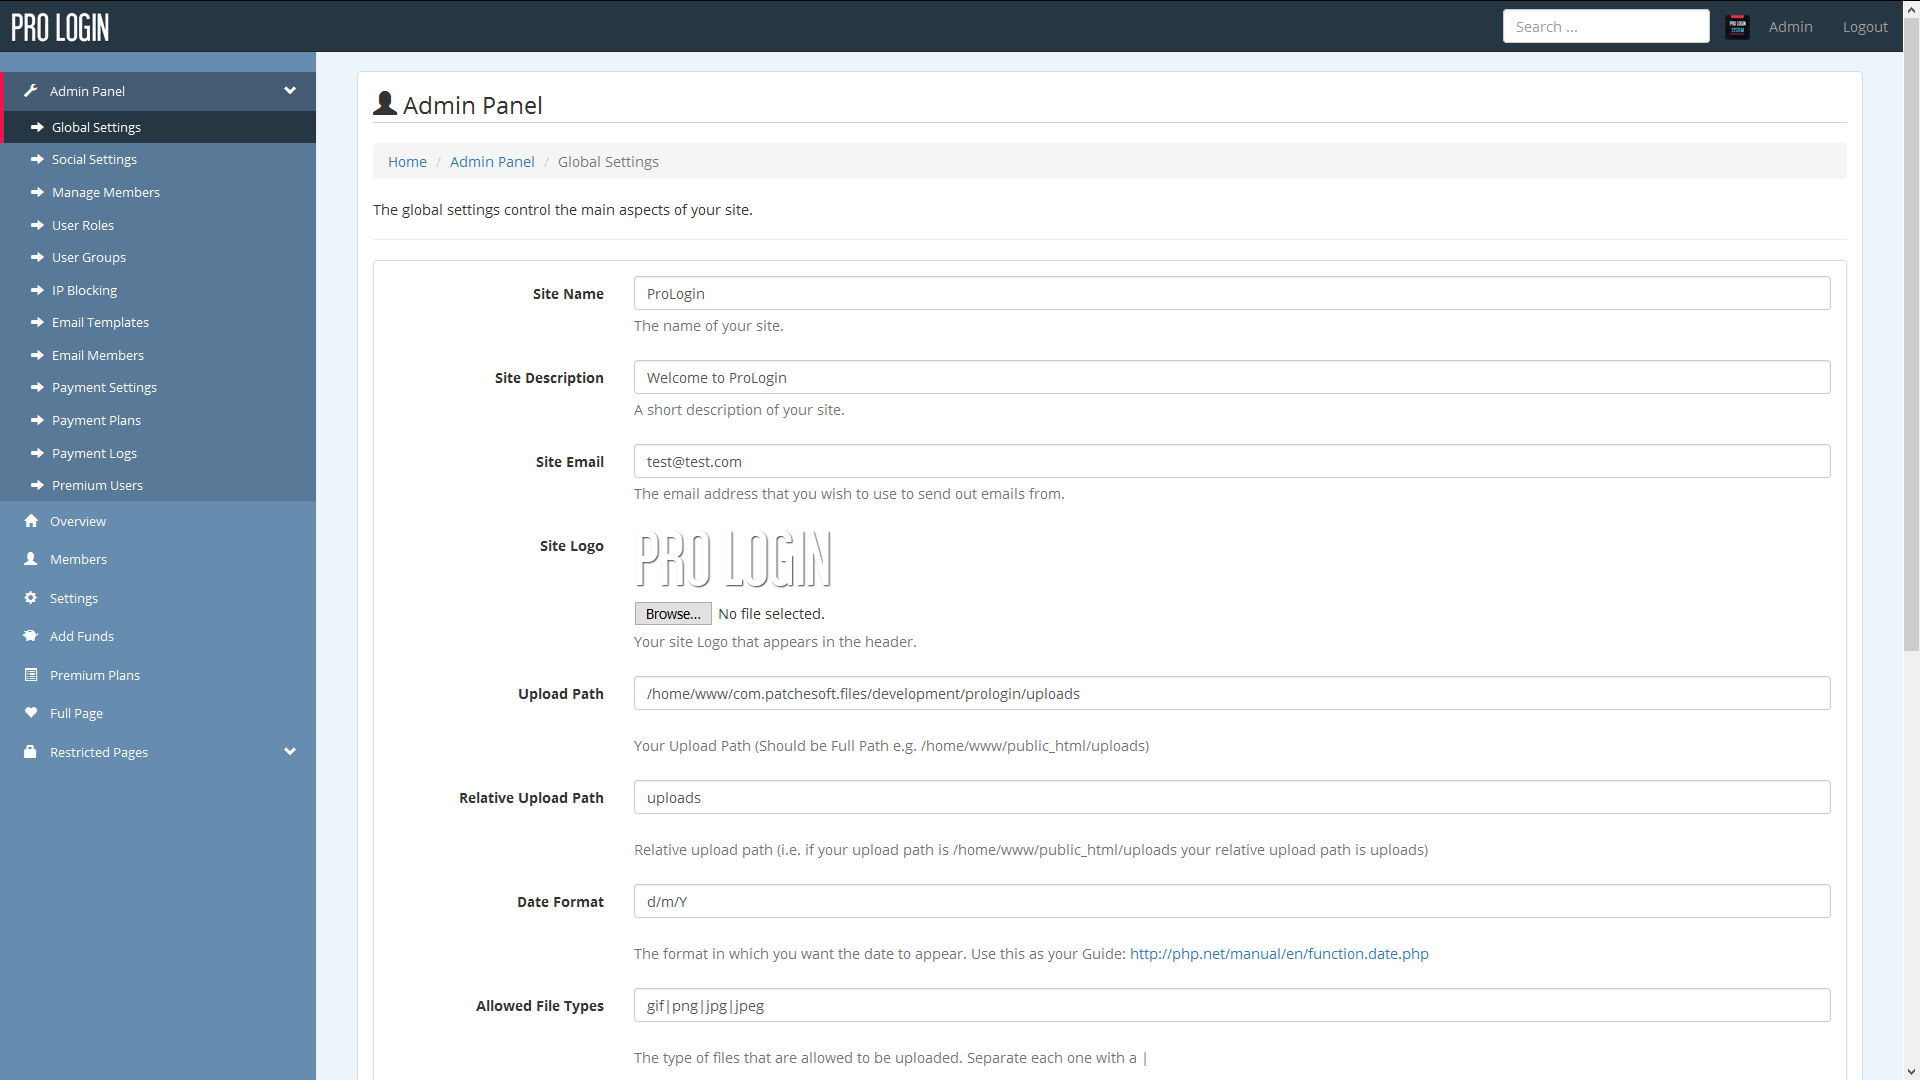
There are quite a lot of options for the Admin Panel that help running your site that much easier. The first set of options is the Global Settings option. These options directly effect the site overall. Here you can change the Site Name, Logo, Disable Registration and more.
Other settings include Social Settings. These settings refer to allowing users to login to your site using their Social Network Accounts. You will need to obtain API keys from the Social Networks, you can do this quite easily and for free. Just follow our Social Network guide that is contained within the documentation folder.
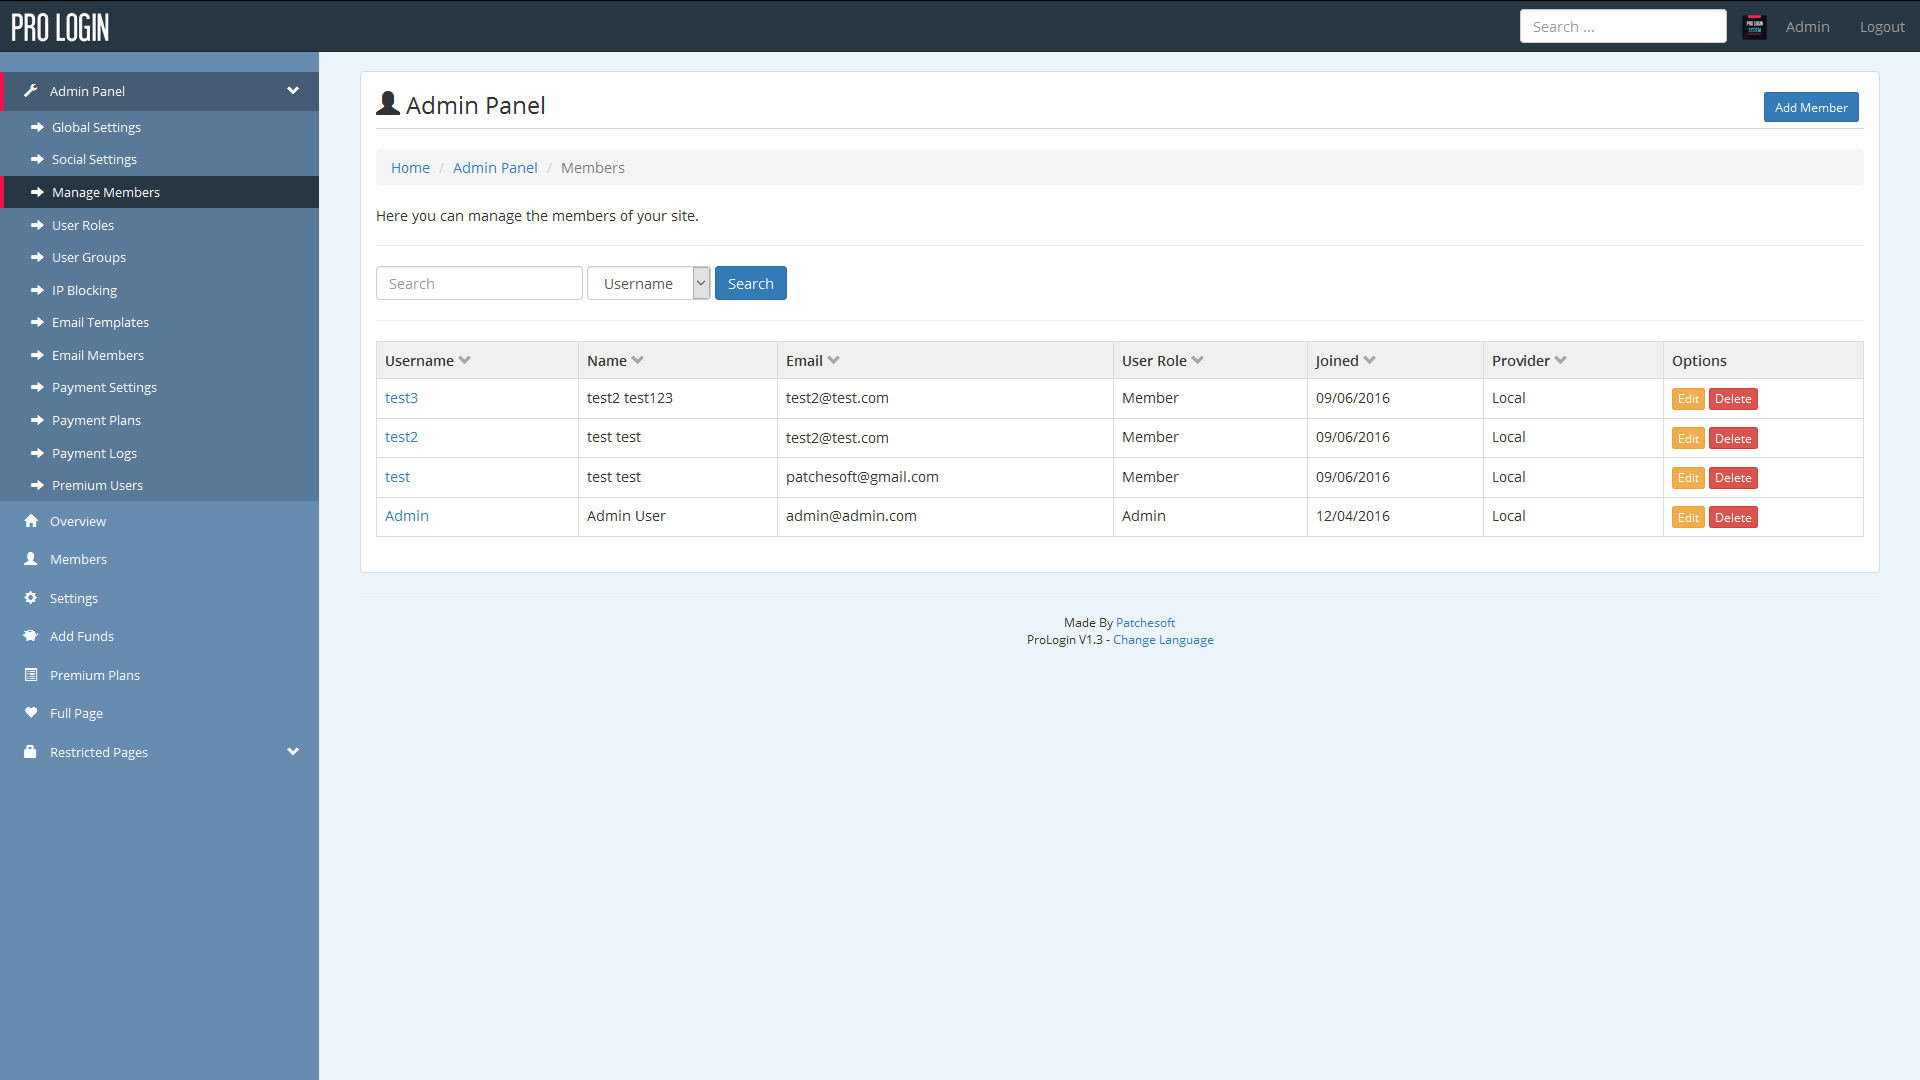
The Manage Member section is similar to the Members page. However, this section contains a bit more detail about your users, including their Email Address and the IP address used to sign up with the account. From this page, you can also Edit and Delete members. Clicking on Edit will present you with a page allowing you to edit the user's details, such as username, email and password.
User Roles
The system also employs a User Role system. User Roles have certain privliges to various areas of the site and you can create custom User Roles for your users.
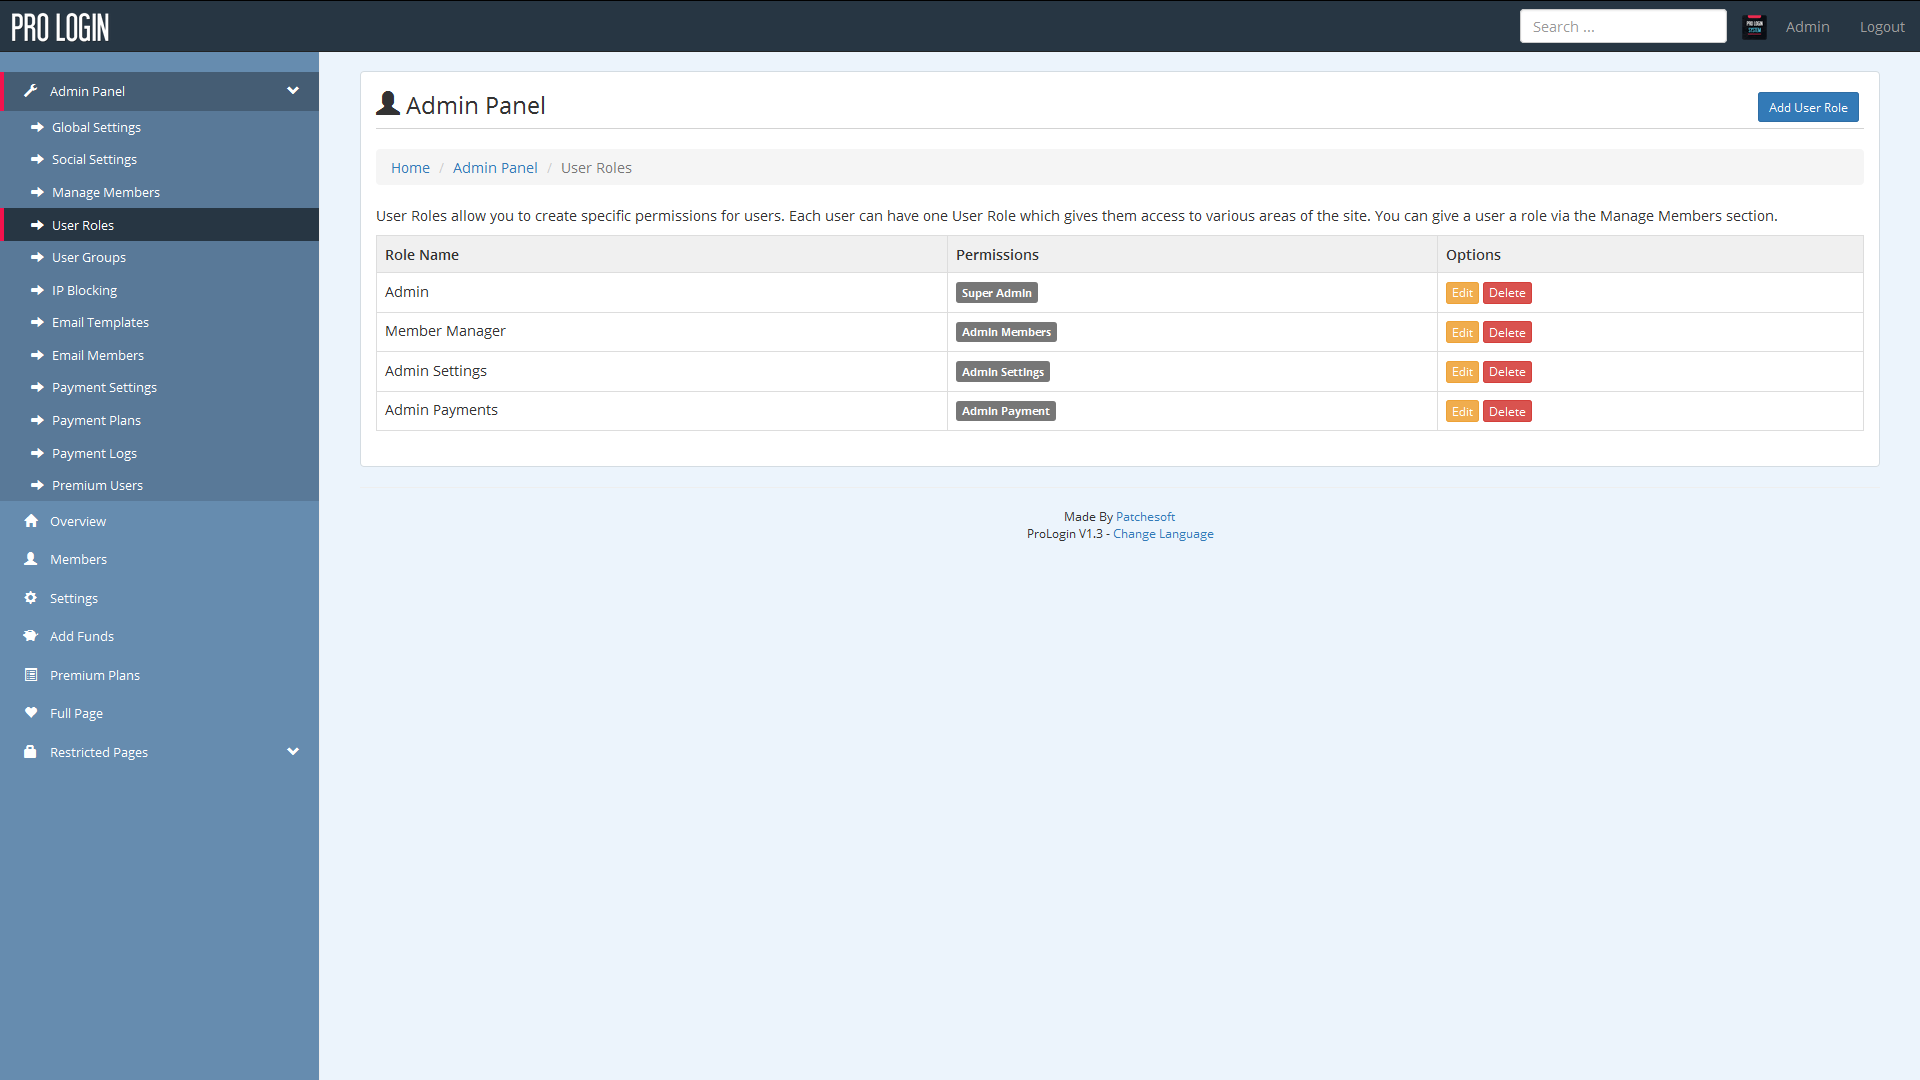
Defined User Roles:
- Admin - complete access to every part of the site
- Member Manager - access to the Admin Panel's Manage Members section
- Admin Settings - access to the global settings and social settings pages
- Admin Payment - access to the payment settings in the Admin Panel
You can create custom roles which incorporate two or three of these roles such as:
CUSTOM ROLE NAME: User Moderator
ROLES: Member Manager, Admin Payment
Then if a user has the User Moderator User Role, they would be able to manage the member section in the admin panel and the admin payment settings areas.
Groups
Another option included in the software is User Groups. This section allows you to create groups for your users, allowing you to keep them more organised. You can also use groups to restrict access to certain pages. We have made a test page for this and you can view the coding behind it by editing the file application/controllers/Test.php.
We also have an in-built IP blocking system. Here you can add IP Address to a blacklist which will prevent those IP addresses from registering new accounts and logging in.
Email Templates allow you to edit Emails that are sent out to users. There is currently only one email you need to be aware of and that is the Forgotten Password email. If you wish to change this email and the way it's presented, feel free to edit the Email using this area.
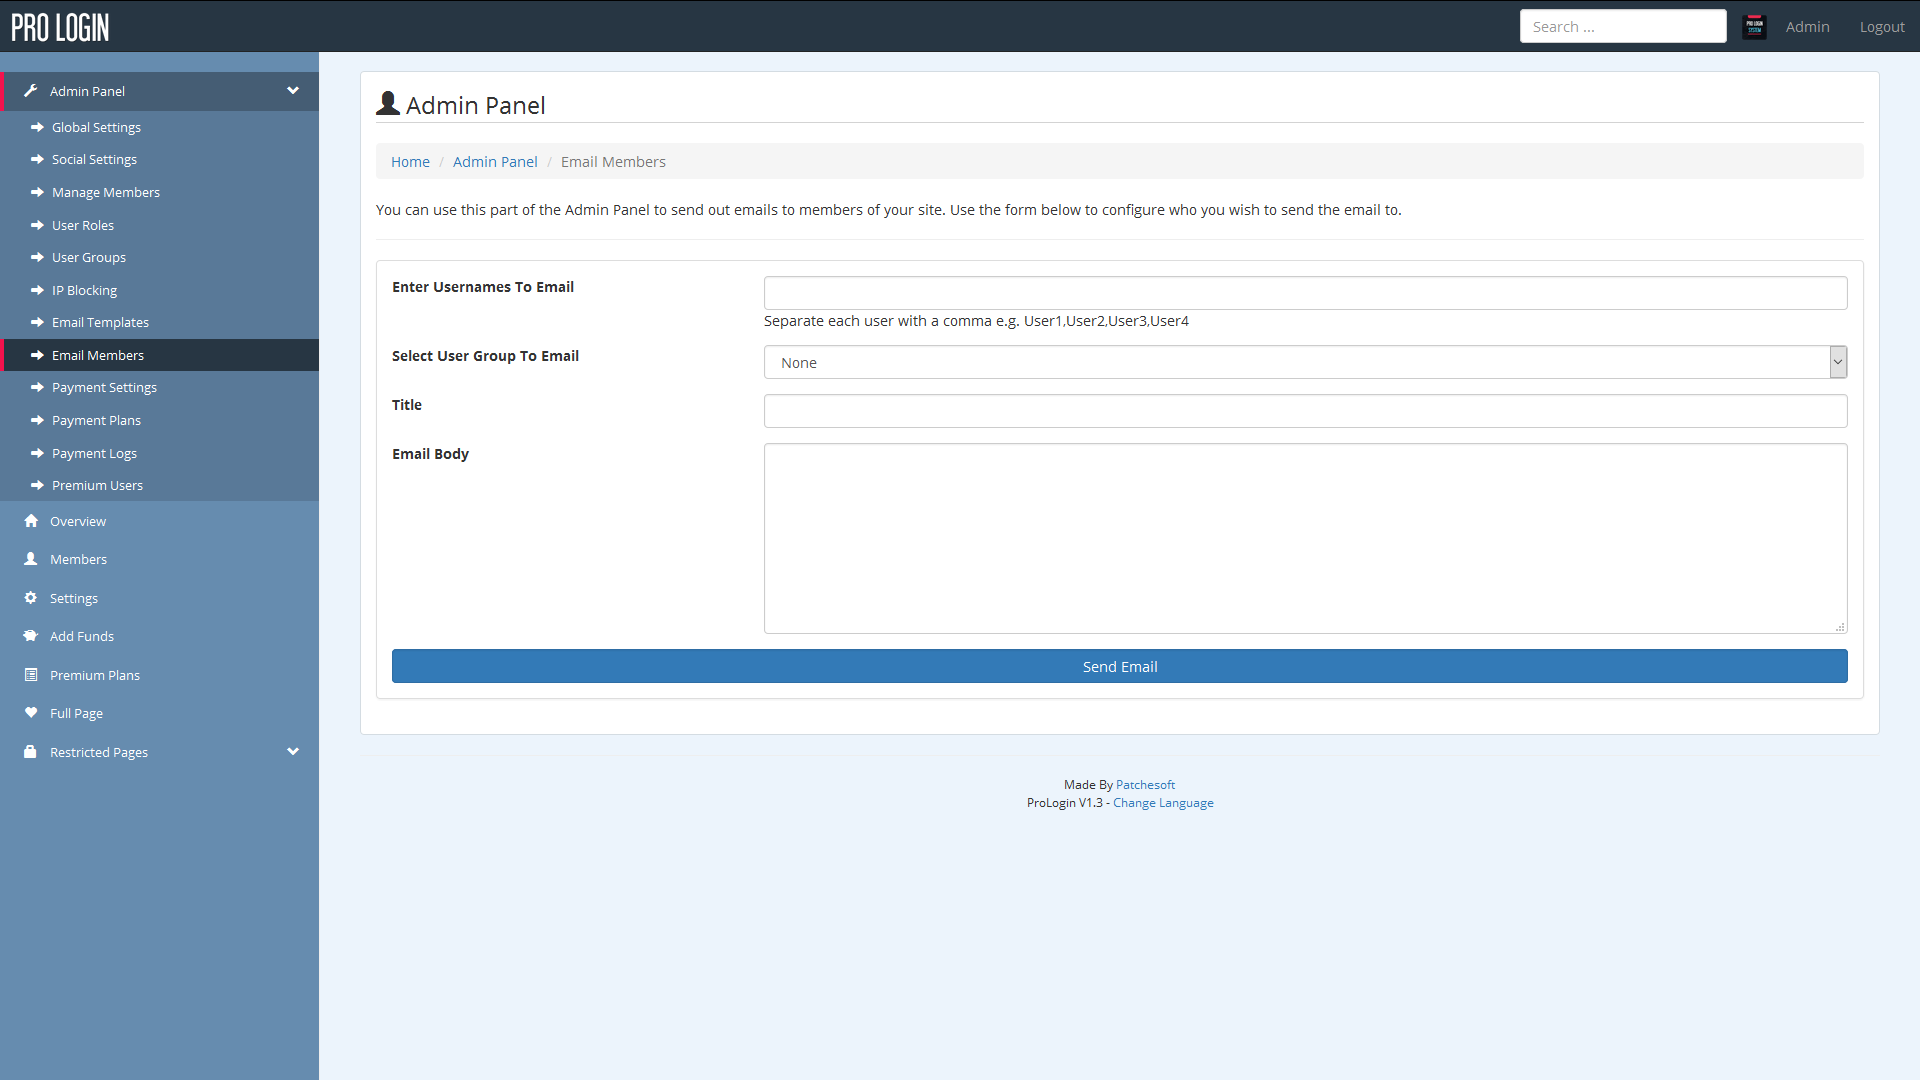
In the Admin Panel is also the ability to send out emails to your members. From the Email Members page, you can select individual users, user groups or all users. Then you can set the title of the email and of course, the email message you wish to send. Emails are sent using CodeIgniters in built email library. You can change the settings for how emails are sent using the email config found here: application/config/email.php.