
PayPal Setup
Welcome to the Setup Paypal Guide. This guide is used to setup your PayPal account so that you can use the micro-transactions feature on the software.
In order to do this, you first need a PayPal account and have installed the software. Login to your system as the admin and go to Payment Settings option in the Admin Panel.
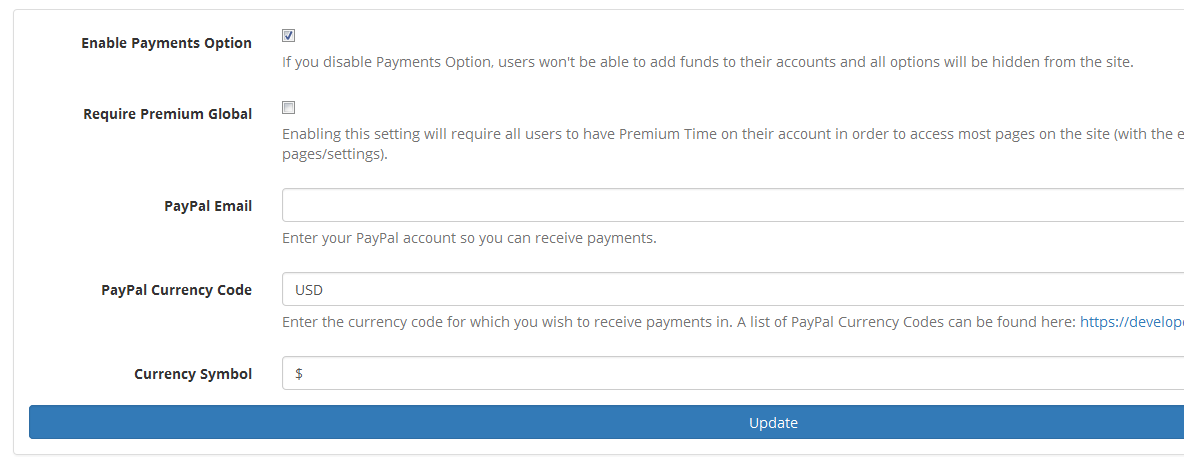
Enter your PayPal account email in the PayPal Email field. Whenever someone tries to buy funds, this is the account that has the money deposited into.
PayPal IPN Setup
Now you need to go to PayPal.com and turn on your IPN. IPN stands for the Instant Payment Notification system and it is used to automatically add the credits to user accounts when they purchase them (making it so you don't have to manually give each user the credits yourself.).
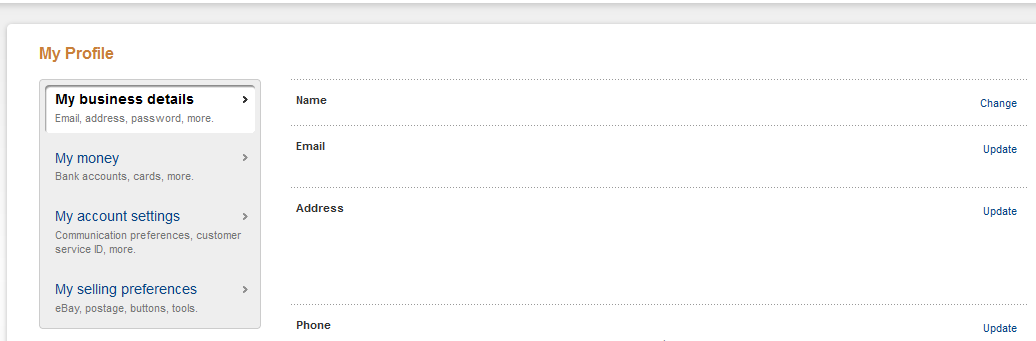
First login to your Paypal account. Click on the Profile link in the top-right corner and navigate to My Profile settings page. You should see a host of options in the left sidebar now.
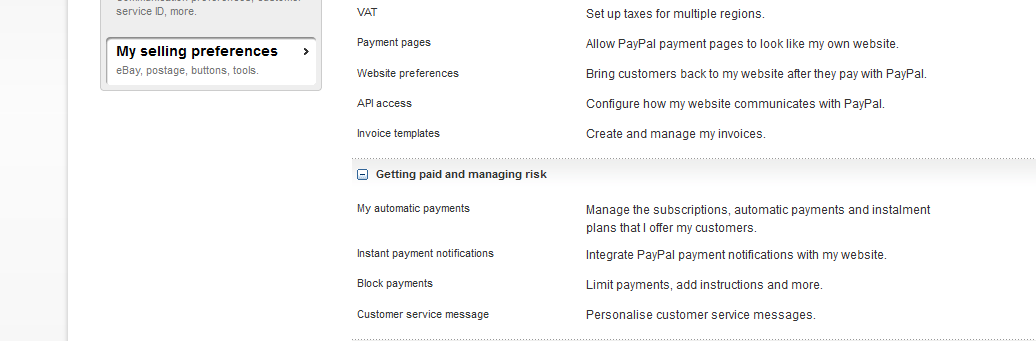
click on the My Selling Preferences and find the Instant Payment Notifications Update link.
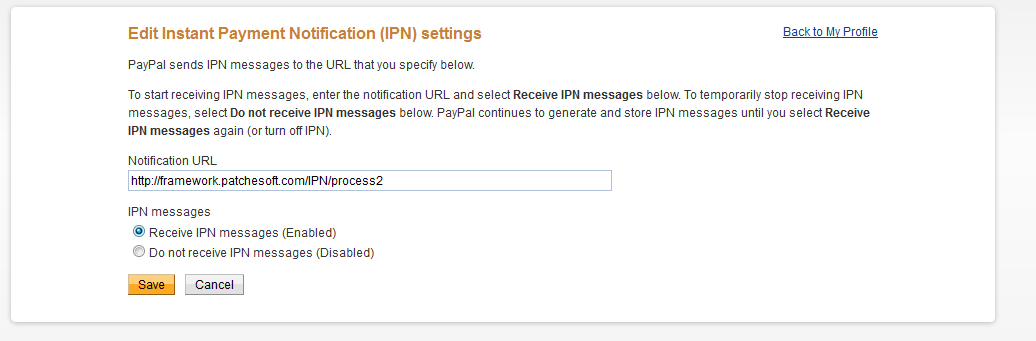
Now you need to enable and turn on IPN messages. In the Notification URL you need to enter the domain name you are using to host the system along with: IPN/process2. So if I had installed the software on http://framework.patchesoft.com/ my URL would be: http://framework.patchesoft.com/IPN/process2
Save the settings. Once done, you should now be able to receive payments and your users should automatically be receiving their funds. If you're having issues, try checking the IPN History page in PayPal which shows any requests it is trying to send out, along with any error messages/issues: https://www.paypal.com/uk/cgi-bin/webscr?cmd=_display-ipns-history